General aims and specific objectives:
My aim is to create a paper based collection for Chloe Hall Illustrations that will be inspired by nature, specifically exploring a tropical theme. The theme will investigate and report on a target market of females, age ranging from eighteen to thirty. The target market will be investigated by looking and reviewing trends, journals and specific websites to be informed of style and colour trends for season S/S 2019. The information collected using these research resources will be summarised on visual inspiring mood boards. The creative mood boards will lead to producing a body of samples, drawings and images experimenting with hand and digital techniques. This will support the development of ideas and images using techniques such as mark making, painting, print techniques and digitally editing samples and images. These techniques will produce a wide range of samples and designs using carefully chosen substrates that may include paper and natural fabrics such as cotton and silk. There are a variety of technical processes I will use such as print, specifically looking at lino printing, screen printing and heat transfer, with elements of hand and digital embroidery which will contribute to producing professional samples and designs to a high standard. The final collection of designs will demonstrate an alternative colour pallet, a variety of designs and patterns which will demonstrate successful repeated patterns that illustrate designs for stationary.
Market/client:
Chloe Hall bases her designs and products on a style of nature, specifically looking at plants reflecting her collections around the seasons. Hall is known for her elegant water-colour designs as she brings the outdoors indoors. The tropical theme that my collection will be based around will be focused on tropical fruits such as pineapples and animals such as flamingos. Adding elements of tropical plants will allow me to experiment with a wide range of backgrounds. The tropical theme will work well against Hall’s collections as my designs will give an innovative and unique view to her nature theme. Using paint techniques such as water colours will help me to relate back to Chloe Hall’s style as the water colour effect is a way that she connects to the theme nature.
Choosing females aged eighteen to thirty as my chosen client was a decision made after researching who Chloe Hall’s designs are aimed at, this was initially researched by visiting her website and viewing the feedback given to her by her client’s. To further my research on my target audience I have emailed Chloe hall with a questionnaire asking questions on her clients, designs and current work. When I receive an email back from Hall it is crucial that I use the information to further my research colour schemes and designs that will fit in with my chosen client.
Research:
The focus of my research will begin with collecting and editing my own images, I will take professional images of tropical plants, fruits and flamingos that I will gather inspirations from. Purchasing tropical fruits and plants will allow me to accumulate a wide range of drawings, prints and mark making of the textures and patterns that are concealed within the plants and fruits. The research that I will collect on colour trends and styles will begin research on WGSN specifically looking at colour trends for 2019 and style trends for a collection based around the season S/S taking into consideration my chosen client. Researching different papers and natural fabrics for my collection is crucial as I will research paper weights and paper finishes that will help me to get a professional and natural finishes. I will research my chosen materials by testing a varied range of paper and natural fabrics with a variety of techniques such as print, mark making, dye and digital embroidery. Considering Chloe Hall’s competitors which are, John Lewis, Riffle Paper Co, paper chase and WHSmith, it is crucial I research into these companies to understand what they have to offer and how I can make my collection different to what is already on the market. To research these competitors, I will visit the company’s websites, going into their stores and through their social media accounts. The way that Chloe Hall communicates with her clients is mainly trough her social media accounts, such as Instagram, Facebook and Twitter, as well as her website. This way of communicating with her clients is a great way to inform her clients frequently about new prints and designs added to her collections. Hall’s products are sold on her website but also in stores across the UK and Europe, having her products sold online and in store id an excellent way to make her products available to her clients
Concept, materials, processes and techniques:
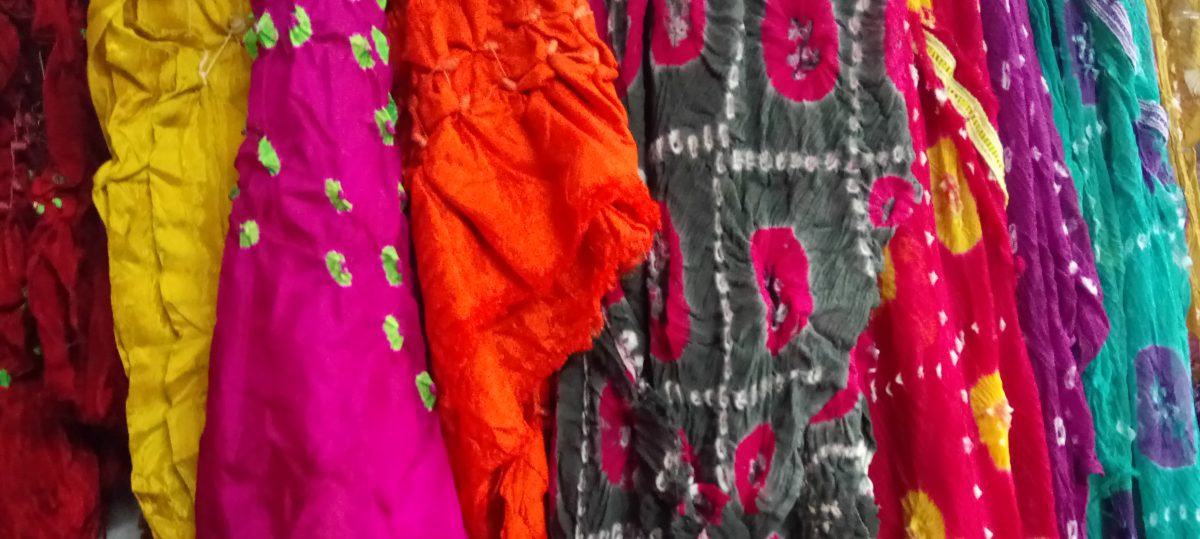
The concept of my design collection is nature specifically looking at the tropical fruits textures and patterns giving my collection a naturalistic approach. Drawing from life will ensure I successfully achieve these textures and looks. The plant and Flamingo features to the collection will be researched through photos and life drawings the images will be taken in places such as tropical gardens and zoos that home flamingos, this way I can get extensive detail of the animal’s textures, features and appearances. Experimenting with water colours, gouache paints, prints techniques and digital embroidering and editing software will allow me create designs with a natural style. These techniques I can achieve professionally as repeated patterns to produce an elegant and unique collection. The colours that I will use throughout my collection will be a mixture of pastel and vibrant colours this will create detail and layers on the key elements of my designs. Experimenting with these techniques, fabric is usually the main material used so it will be interesting how I can convey these techniques onto paper. To conclude my aim to produce a collection of stationary designs inspired by a tropical theme which will be featured on notebooks, diaries, folders, pencil cases and much more. The collection will be hand painted, printed and digitally produced using paper as my main source of material.
Timetable:
Term 1
*Wednesday day used for blog entries, sketch book work and workshops.
*Friday Constellation Day-Essay preparation.
| Week 1 |
Task |
Notes on Tasks |
| Monday 25th-Wednesday 27th September |
Read and analyse the brief making detailed notes, spider diagrams and research about my initial thoughts about the brief. Taking notes on any questions or concerns I have. |
Read the brief more than once to get a better understanding of what it entails. Reading over, highlighting key aspects and parts of the brief using a highlighter. Library research to begin to collection information on the brief. |
| Thursday 28th September |
Stitch workshop- hand, digital embroidery. |
To get back into stitch techniques after a long break over the summer I will practice a wide range of techniques, machines and foots such as free hand embroidery, needle punching machine, cording foot and practicing simple designs on the digital machines. |
| Saturday 30th September-Monday 2nd October |
Begin research on initial designers and companies, identifying what I like and inspires me. Collect images on mood board ready to be put together and completed. |
I will look on Pinterest, Instagram, WGSN, magazines, blogs and library research to gain the information on my chosen designers/companies. Images for mood boards use nature photos and images from WGSN, Pinterest and my own sketches. |
| Week 2 |
Task |
Notes on tasks |
| Tuesday 3rd October |
Attend the library lesson with Martha. |
This will help me with my research skills, developing them and leaning new ways of researching. |
| Thursday 5th October |
Stitch workshop-focus on creating digital design and developing my free hand embroidery skills. Nature theme |
Bring images to scan into the computer to digitally print off. Considering fabric choices. |
| Saturday 7th– Monday 9th October |
Continue with designer and company research, going in-depth into final 20 and 9 designers. Start to complete Hypothetical design brief. Finish Concept mood boards ready for submission on Monday 23rd October. |
Here I will identify what interests and inspires me about each company, start to collect images for mood boards and start to construct a petcha kutcha presentation. These areas of research will successfully collect using Pinterest boards, WGSN and magazines I have collected. |
| Week 3 |
Task |
Notes on tasks |
| Tuesday 10th October |
Continue research on designers and companies, collect images for concept mood boards and theme research. |
Visit the library to collect images, after uni visit garden centres to take professional images of plants and leaves. |
| Wednesday 11th October |
Visit Roath Park to collect more images on nature theme for mood board, colour board and client board. |
Take a sketch book and drawing equipment so I can begin a sketch book of quick and detailed plants and leaves. |
| Thursday 12th |
Last stitch session-print off digital stitch sample |
Take into consideration, colours, fabrics and textures used throughout my stitch samples. |
| Saturday 14th– Monday 16th October |
Continue research for designers and companies clearly identifying my final 9 and 3 companies. Start to construct my Pecha Kucha presentation. Choose between interior, fashion and paper. |
Researching in-depth into the concepts, styles and approaches of each final company. This will help research for my theme and concepts for my hypothetical design brief. |
| Week 4 |
Tasks |
Notes on Tasks |
| Tuesday 17th October |
Mark making studio work-Transform my mark making into detailed pieces and designs. |
By concentrating on my favourite mark making techniques I can develop and perfect these techniques. Bring paint brushes, paper, gouache paint and mark making equipment. |
| Thursday 19th October |
First print session, take images and sketches to work from. |
On my first print session I will concentrate on heat transfer, using my mark making and painting techniques to get a naturalistic look. Considering a nature colour scheme. |
| Saturday 21st– Monday 23rd October |
Continue research on my final company for my chosen collection Complete hyperthetical design brief and emailed to tutors by 4pm-pin up concept mood boards. |
Researching my chosen company will consist of digital research as I will further my research on my client. consider intended client. *Email chosen company about client, designs and concepts. |
| Week 5 |
Tasks |
Notes on Tasks |
| Tuesday 24th October |
Complete colour theory task, continue with drawing techniques and mood board research. |
Get colours, paint brushes and paper ready, will help with development of colour scheme. |
| Wednesday 25th October |
Displacement workshop. |
This will help to develop my Photoshop skills, by learning how to add my designs to products in a natural way. |
| Thursday 26th |
Second print session, create lino |
Cut out lino ready for the workshop, print off simple designs and start to experiment with patterns and layering lino. Taking into consideration my theme, colour and style. |
| Saturday 28th – Monday 30th |
Continue pecha kucha presentation prep-finalising slides and script ready to practice. |
Make the presentation look the part I will consider images, content and text on the slides. |
| Thursday 31st October |
Last Print session-dyeing, lino and heat transfer. |
Practice patterns, colour scheme and designs in this print session, concentrating on detail and layering. |
| Saturday 2nd– Monday 6th November |
Finalise pecha kucha presentation-practicing slides. Upload on my blog by 4pm. Complete folders, mounting and sketch book ready for hand in on Thursday 9th November. |
Professionally mount samples in technical file, gather mark making and colour theory making sure they are presented professionally. |
| Tuesday 7th November |
Present pecha kucha presentation |
*Be prepared for presentation, print off notes. |
| Thursday 9th November |
Hand in portfolio
Visit both stitch and print workshops working between them both. |
Take print samples into stitch workshop to develop my prints adding detail and layers to my designs. |
|
End of ‘Making Connections part 1 |
|
Throughout the rest of November and through to ‘Making connections’ part 2 I will develop my concept mood boards, designs, images, prints and themes. Practicing stitch and print techniques preparation in for my collection and designs. Adding and developing my research, finalising my collection ideas and gathering materials that I need.